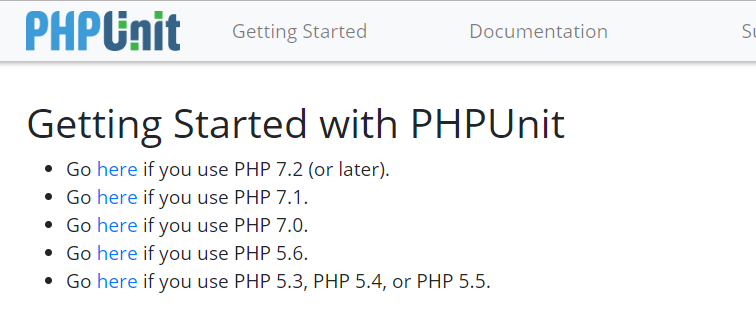
本文实例讲述了PHPUnit 单元测试安装与使用。分享给大家供大家参考,具体如下:
一、官网下载对应 PHP 版本的代码库
https://phpunit.de/getting-started-with-phpunit.html

二、安装 PHPUnit
官网提供了两种方法安装
1. PHP Archive (PHAR)
➜ wget -O phpunit https://phar.phpunit.de/phpunit-8.phar

➜ chmod +x phpunit

➜ ./phpunit --version
PHPUnit 8.0.0 by Sebastian Bergmann and contributors.
2. Composer
➜ composer require --dev phpunit/phpunit ^8

➜ ./vendor/bin/phpunit --version
PHPUnit 8.0.0 by Sebastian Bergmann and contributors.
三、使用 PHPUnit 进行测试,以下代码默认你是使用 Composer 安装的 PHPUnit
安装完成后在当前目录下添加文件 EmailTest.php,文件内容如下
<?php
declare(strict_types=1);

use PHPUnit\Framework\TestCase;

final class EmailTest extends TestCase
{
  public function testCanBeCreatedFromValidEmailAddress(): void
  {
    $this->assertInstanceOf(
      Email::class,
      Email::fromString('user@example.com')
    );
  }

  public function testCannotBeCreatedFromInvalidEmailAddress(): void
  {
    $this->expectException(InvalidArgumentException::class);

    Email::fromString('invalid');
  }

  public function testCanBeUsedAsString(): void
  {
    $this->assertEquals(
      'user@example.com',
      Email::fromString('user@example.com')
    );
  }
}
运行测试
➜ ./vendor/bin/phpunit --bootstrap vendor/autoload.php tests/EmailTest
PHPUnit 8.0.0 by Sebastian Bergmann and contributors.

...                                 3 / 3 (100%)

Time: 70 ms, Memory: 10.00MB

OK (3 tests, 3 assertions)
希望本文所述对大家PHP程序设计有所帮助。


